Building a smart kitchen display using a Raspberry Pi
I’ve always dreamed of having a smart screen in my kitchen – a practical gadget that could offer useful information at a glance.
When I started researching this, I envisioned a solution that was a browser in kiosk mode that would rotate between a preset list of webpages. This turned out a bit harder than expected! 🙈
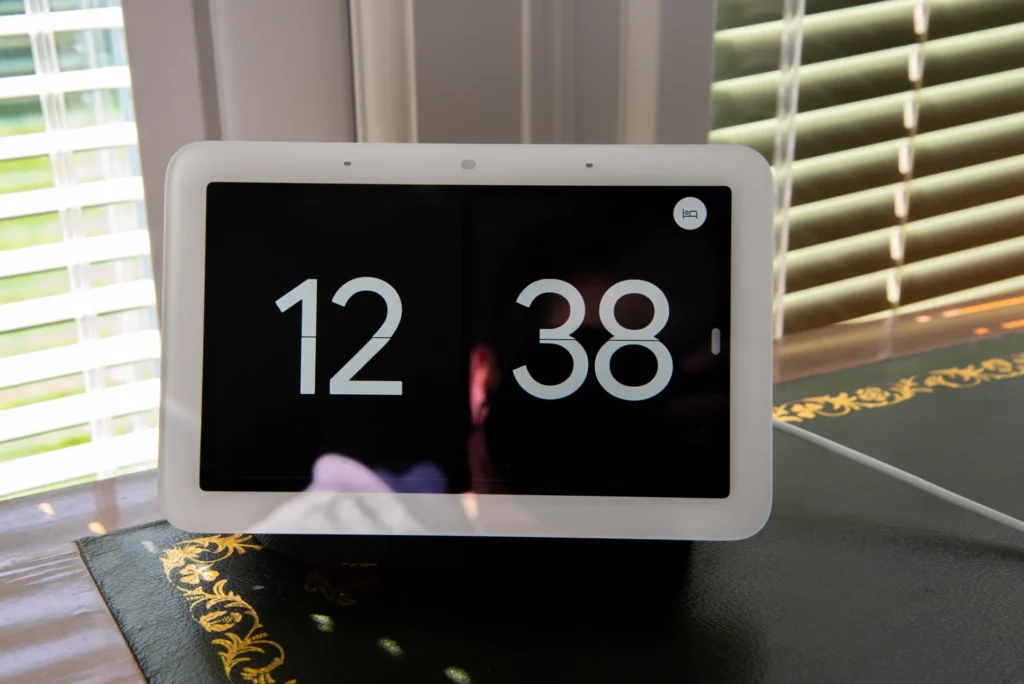
The first product that seemed to fit the bill was a smart screen like a Nest Hub. It seems perfect! A high resolution screen, good speakers and built to be an always-on device. There’s just one problem: there is no way to keep a browser window open, much less rotate between tabs. There are some creative solutions like continuously casting from a Home Assistant instance, but that would require a second always-on device. 😢
The next idea was an old tablet. Tablets are ubiquitous and can be had for cheap! Unfortunately, any continuously plugged-in tablet is bound to suffer from a bulging battery sooner or later, and since modern tablets are typically glued shut replacing it is far from easy. Additionally, the default browser on either an iPad or Android device doesn’t support add-ons to automatically rotate tabs. 🤷
I won’t belabor the point that modern consumer tech is a user-hostile mess. 🫠
So what do we have left? We have the trusty Raspberry Pi of course – a platform made to work with you instead of against you.
Finding a screen
The accessories market for Raspberry Pi is absolutely amazing. You can find anything from add-on boards (hats) to display your favourite animated smileys to hats for driving disco lights installation.
But we don’t need anything that crazy – just a small screen where the Pi can hopefully be mounted in a nice way.
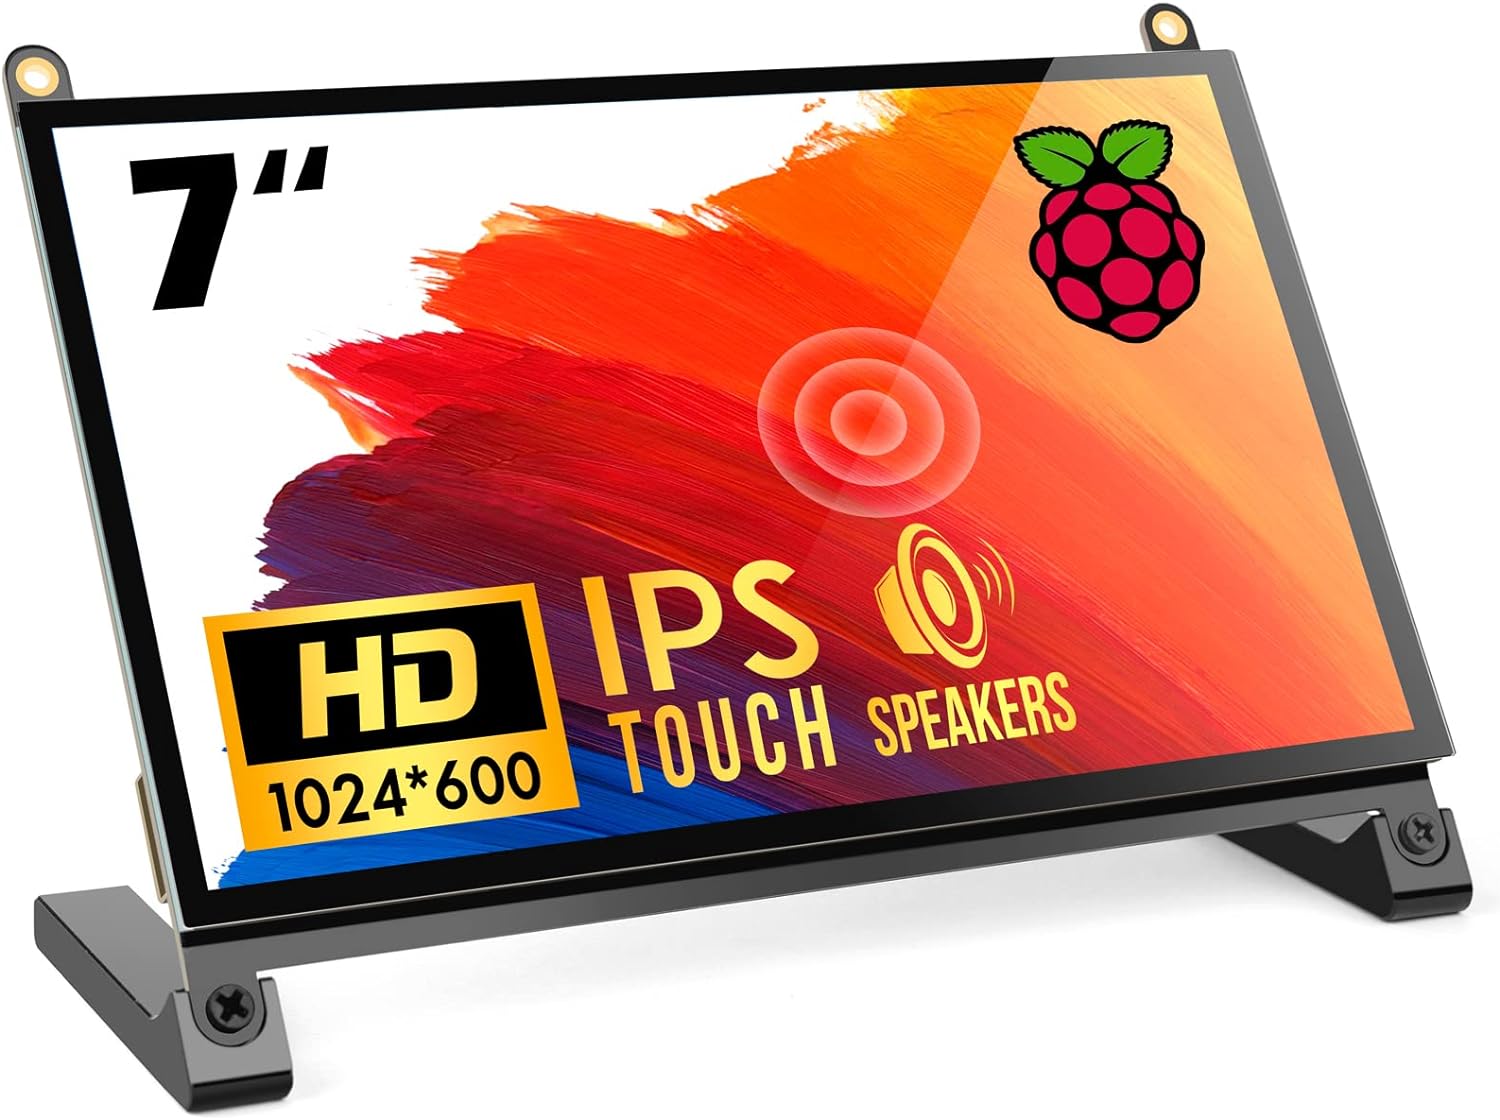
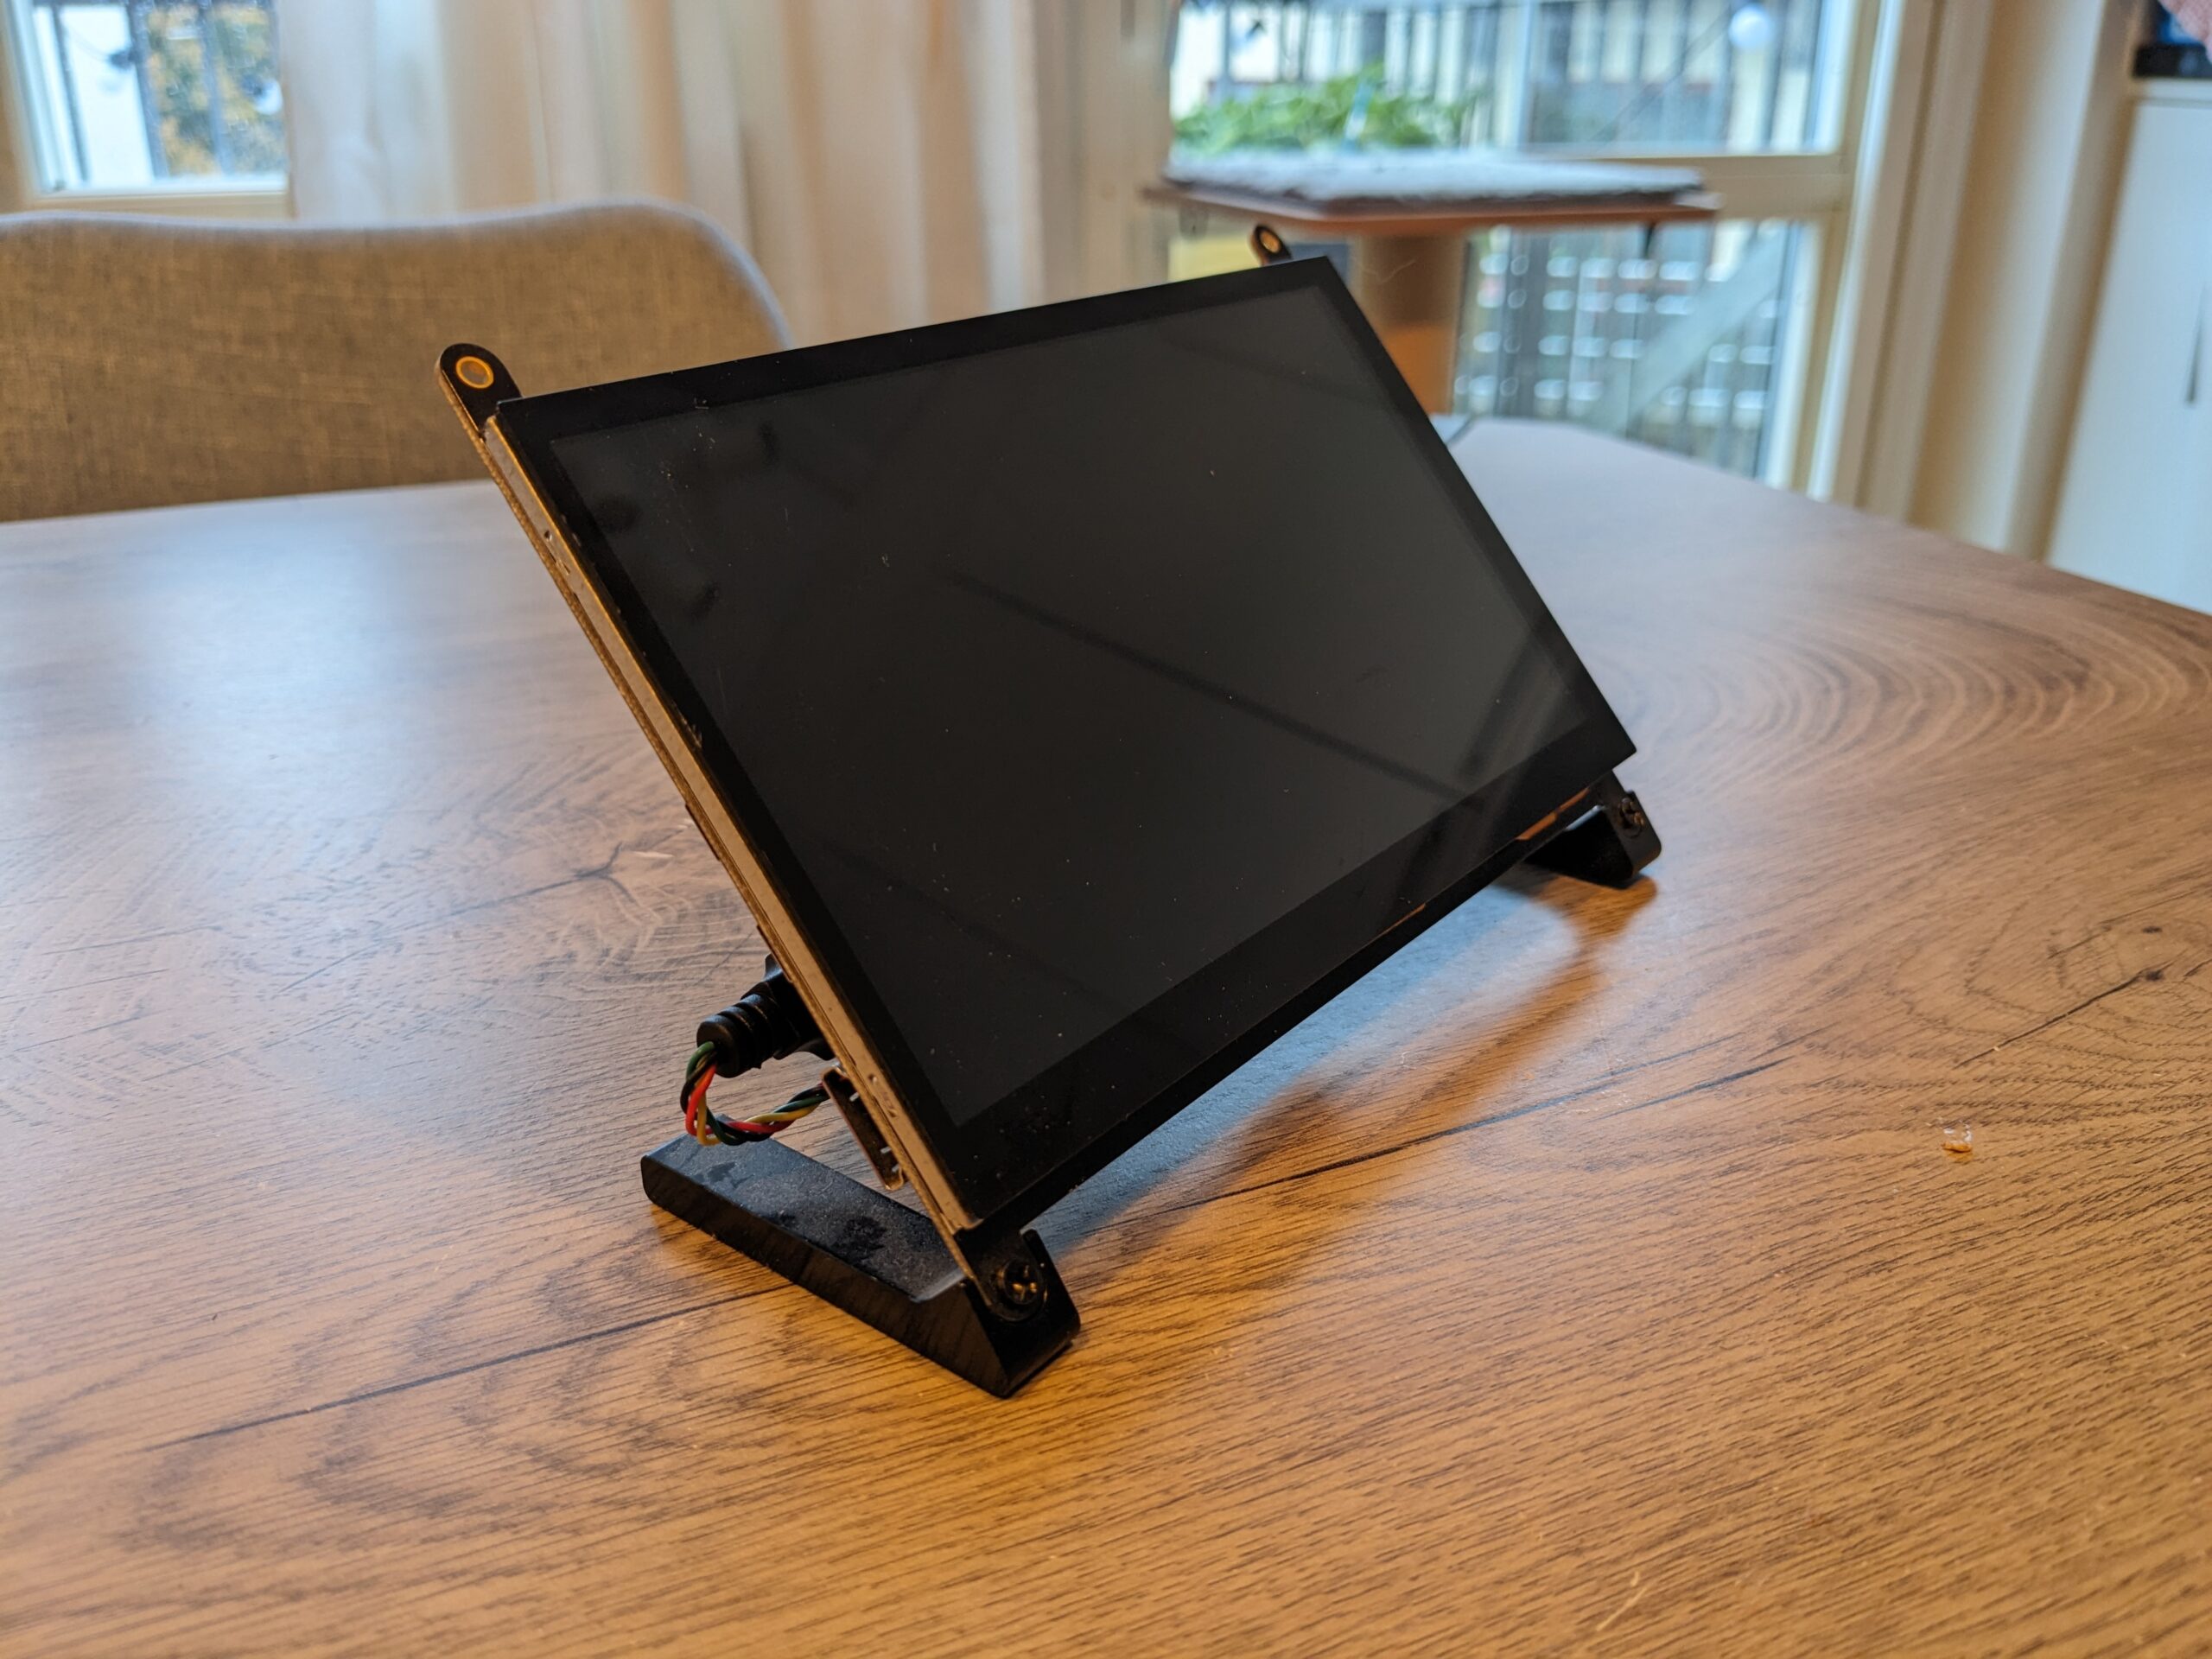
After looking around on Amazon I settled for the ROADOM 7” Touchscreen Monitor. There are many similar screens so don’t fret if you can’t find this exact model. There is also a larger 10 inch model available! I was using a Raspberry Pi 4 for my build – make sure to check that the screen is compatible with the Raspberry Pi you will be using!
What I really liked about this model was that it was possible to mount the Raspberry Pi on the back, and that it already had some feet so it could stand up by itself without having to be wall mounted. The fact that it has speakers and a touch screen was also a bonus!
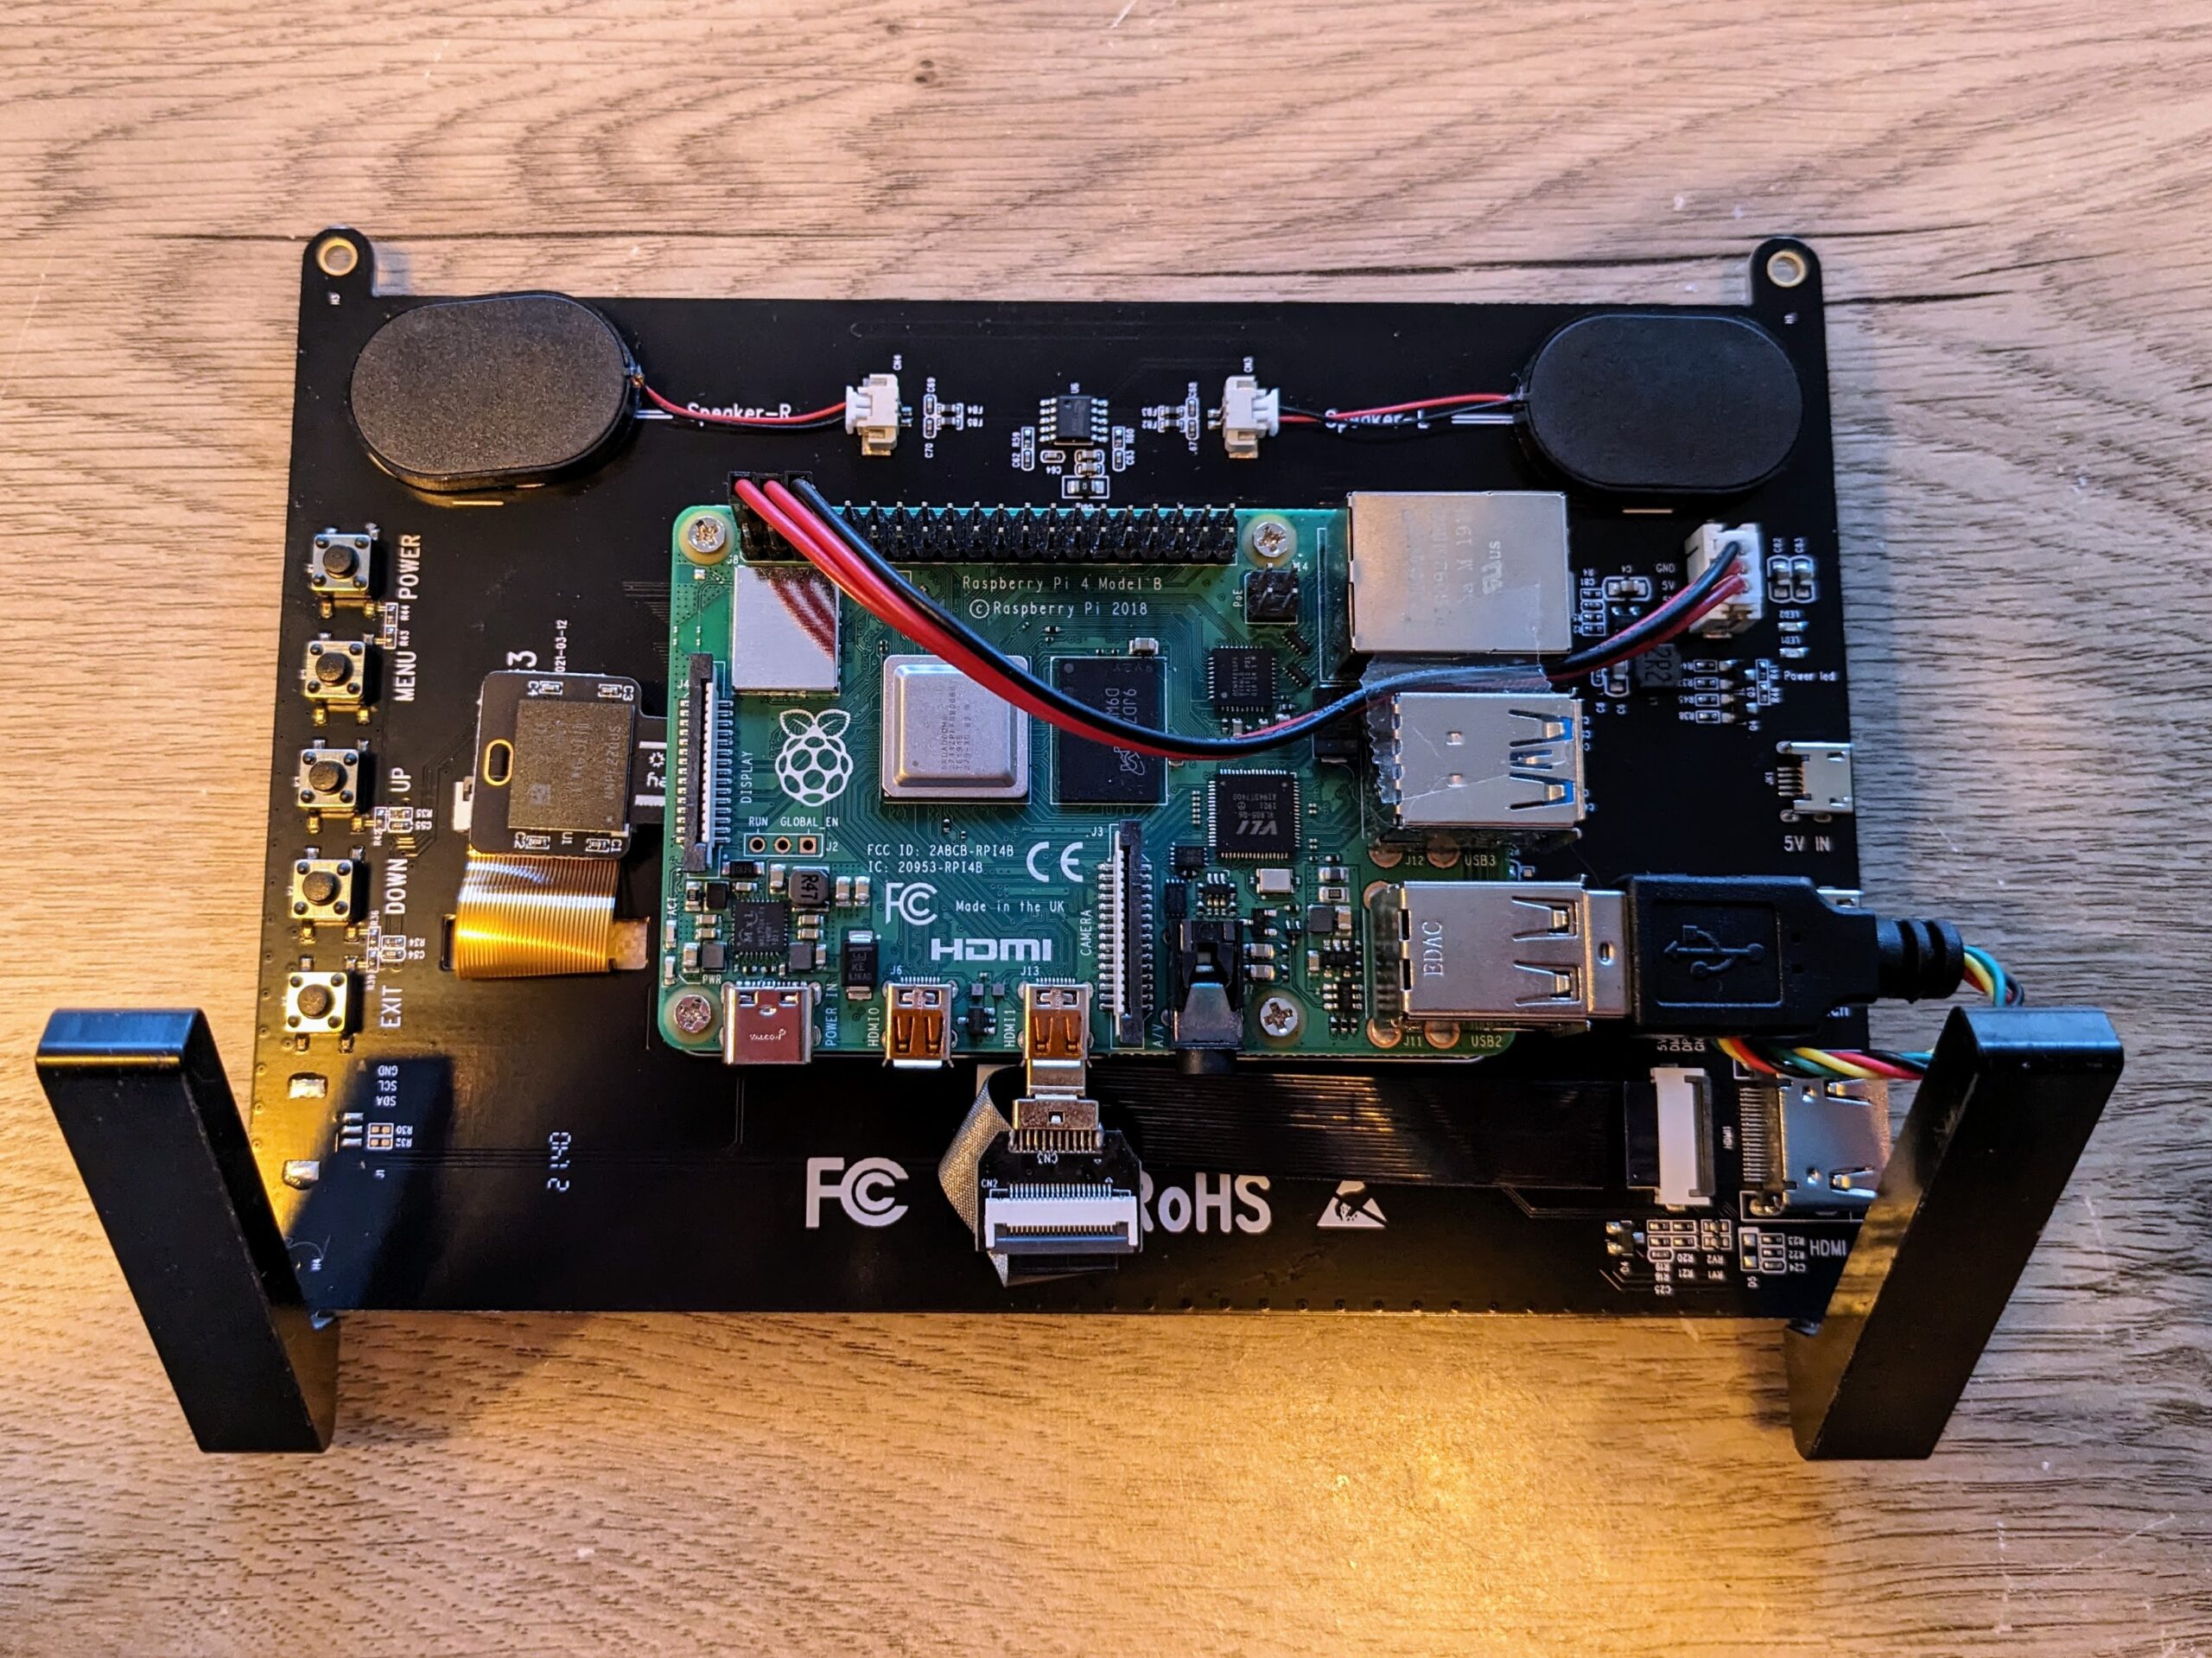
The package included all the required parts. The build is straightforward; it only requires a screwdriver and connecting your Pi to the display.
Adding reliable storage
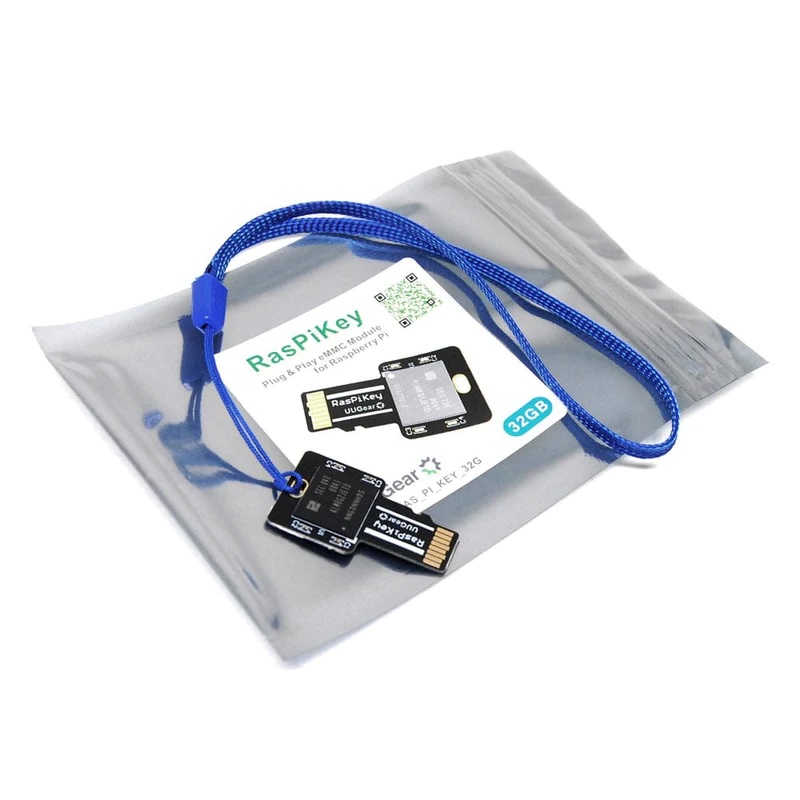
One thing the Raspberry Pi is universally known for is breaking down SD cards faster than ice melts on a hot summer day. The projects I’ve made using Raspberry Pi before would typically last 3-6 months before no longer booting, forcing you to reflash the card. Armed with this knowledge I set out to find some reliable storage. This ended up coming in the form of the RasPiKey from The Pi Hut. The RasPiKey uses an eMMC memory module rather than the less wear-resistant flash memory used in normal SD cards. While the sample rate is only one, I can gladly say that it’s held up to 24/7 use for over a year!

Setting up the software
For the software, we flash the RasPiKey with the standard Raspbian OS and install Chromium which will be the base for displaying all the content.
Automatically starting Chromium and tweaking Raspbian
To automatically start Chromium we make some changes to the /etc/xdg/lxsession/LXDE-pi/autostart file, so that it looks like this:
#!bash
@lxpanel --profile LXDE-pi
@pcmanfm --desktop --profile LXDE-pi

@xset s off # Disable screen saver
@xset -dpms # Disable Display Power Management Signaling
@xset s noblank # Disable screen blanking
@unclutter -idle 10 # Hide mouse cursor on inactivity

@chromium-browser # Auto start Chrome
In addition to the above you also have to apt-get install unclutter to install the unclutter utility which hides the mouse cursor after a short time.
Although there is no light sensor on the screen, we can make the screen dim at night using ddcutil over the HDMI port. First, let’s install it:
apt-get install ddcutilNow let’s go into the root user crontab:
sudo su
crontab -e
Select an editor to use, then add these two lines at the bottom
0 18 * * * ddcutil setvcp 10 10
0 7 * * * ddcutil setvcp 10 30
The above will set the brightness to 30% at 7:00 and then to 10% at 18:00 every day! Fun fact: Code 10 (the first number in the ddcutil call) is the Virtual Control Panel (VCP) code to control the brightness!
Loading multiple tabs and making them rotate
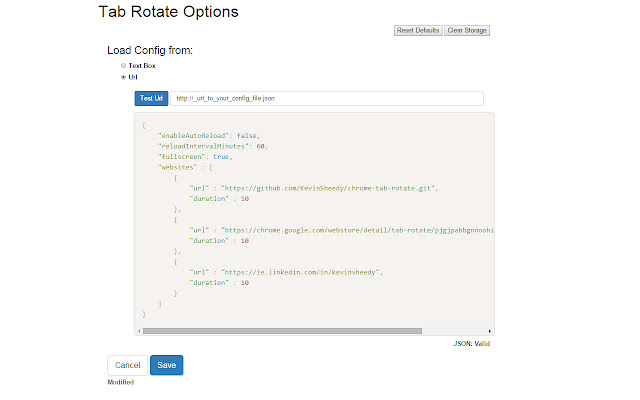
We can use the Tab Rotate plugin which allows you to rotate an arbitrary number of web sites with the ability to automatically reload the sites on a timer if necessary. As a bonus you can even configure it to load the configuration file that contains a list of URLs to load, so you don’t even need to log into the Pi to add or remove a site! In the plugin options you can also configure it to automatically start on Chromium startup and go into fullscreen, all by itself!
Remote management with VNC
It’s fairly easy to connect a keyboard and mouse to the screen when you need to because the ports are exposed on the side, but it’s even nicer to be able to access it without leaving the comfort of your chair!
To do this, we enable the already-installed RealVNC server which is included with Raspbian!
To connect to the screen we can use RealVNC viewer.
What is running on the screen?
Over the past year I’ve been continuously adding things to show off on the display. Hopefully it can serve as some inspiration for your! I’ve added a small CSS snippets to most of these sites using the User CSS add-on to clean up the interface and adapt it for the small screen.
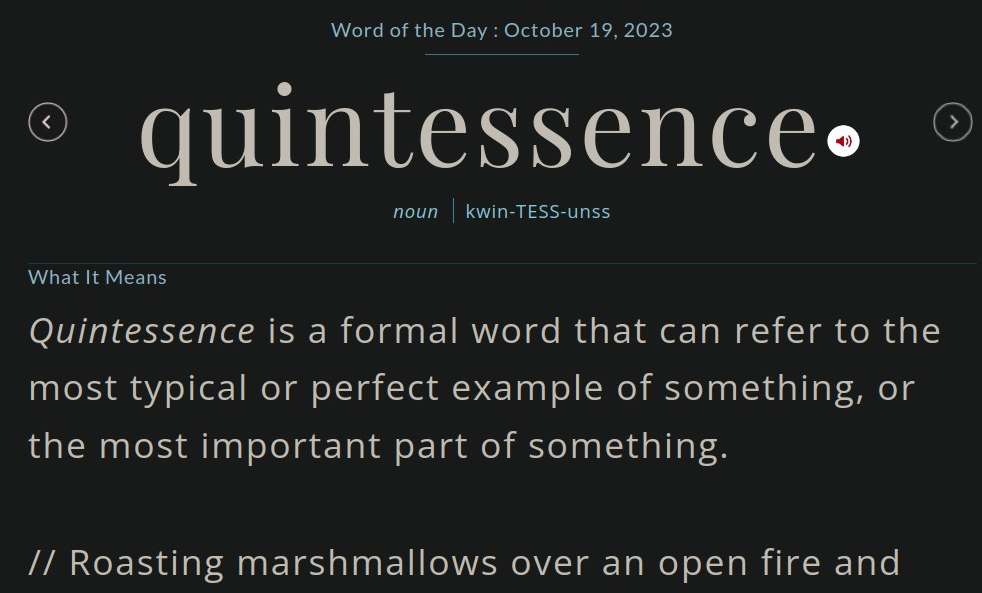
Word of the day
A daily word from merriam-webster.com – Custom CSS
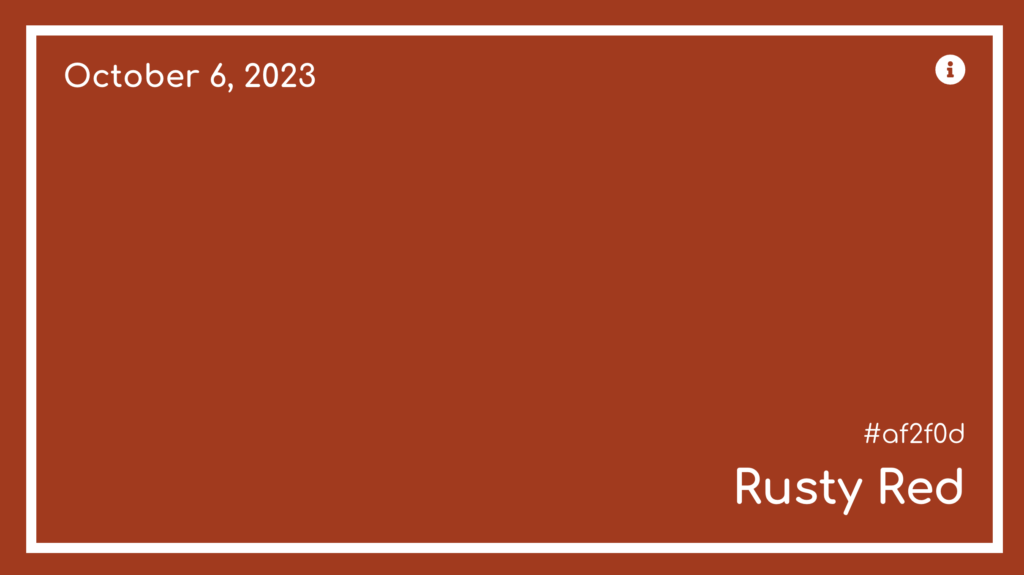
Color of the day
A recent weekend project! It’s like Wordle, except there’s no game and you just see a new color each day! 😄 You can find the site here!

One Album A Day
1001albumsgenerator.com is a cool site that gives you an album to listen to every weekday with links to your favourite streaming service. You can even listen as a group! Custom CSS
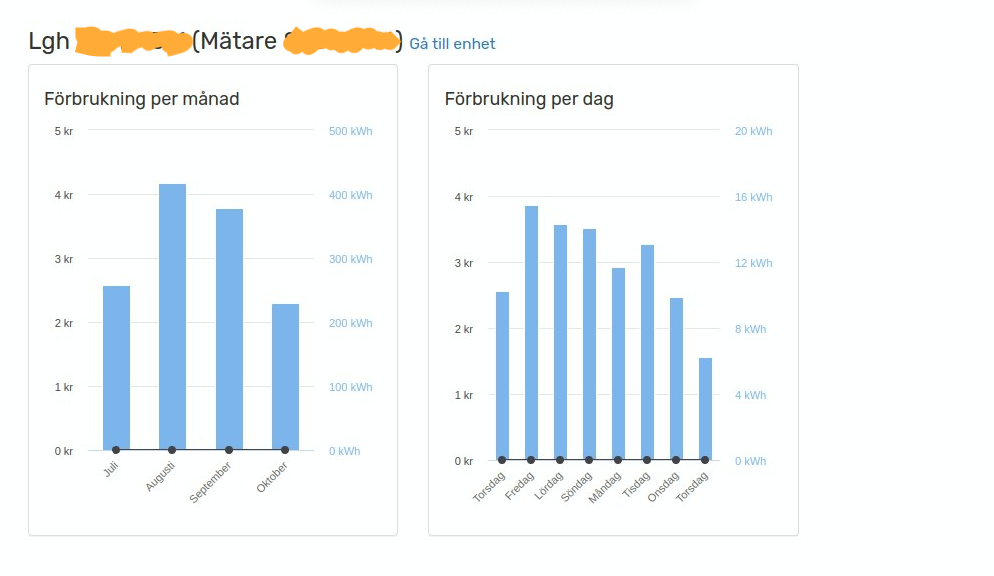
Electricity usage
A dashboard from our local electricity supplier showing current usage!
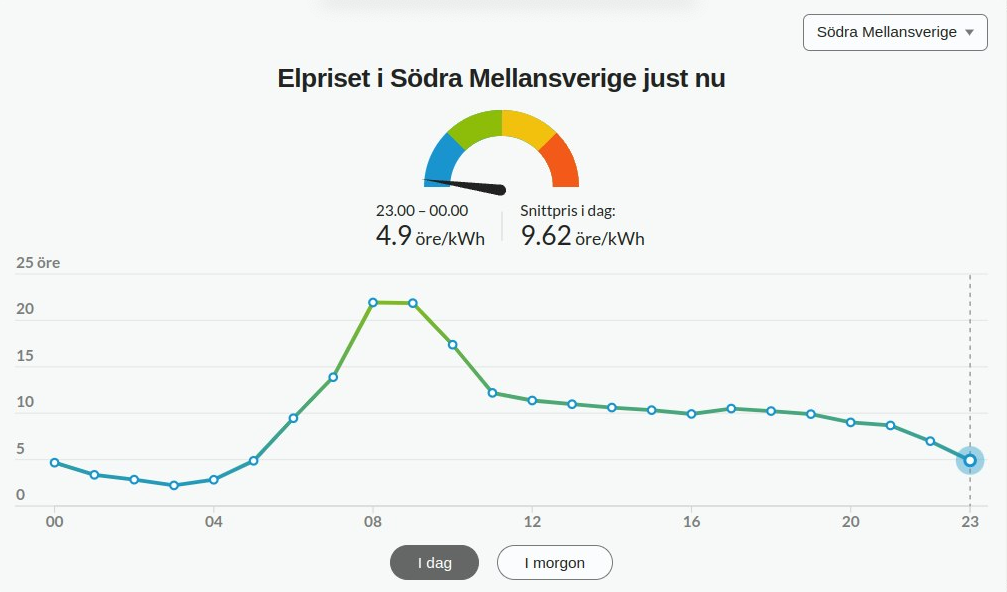
Current electricity price
In a similar vein to the above, since we have hourly electricity billing we can keep track of the current electricity price at all time. If you happen to reside in Sweden, you can use this widget that I was part of developing for Aftonbladet!

Daily appreciations
Returning readers to this blog might know that I’ve created a gratitude journaling app for couples. This app provides a handy dashboard feature where you can show off the latest appreciation on a smart screen!
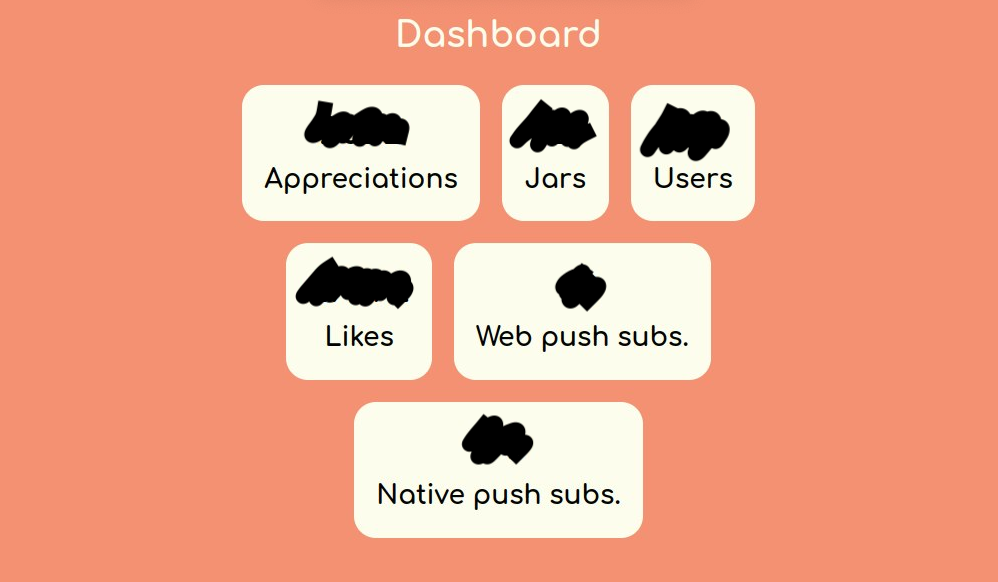
Product metrics and analytics
I added a dashboard to my gratitude journaling app to monitor interesting metrics. Whether it’s some product metrics or number of website visitors – if you can view it in a browser, you can show it on your screen.
PS. I’m not blocking out the numbers in the screenshot above because it’s a big secret, but because I intend to write a one-year anniversary retrospective of launching Appreciation Jar, so make sure to subscribe to the RSS feed to catch that when it comes out!
Future plans!
One thing I’m currently working on adding is a public transportation dashboard that displays upcoming subway rides from the station nearest to my house!
Final thoughts
This is a great starter project, as it’s mostly about screwing everything together and getting all the software pieces running. Good luck on your project and let me know in the comments how it goes!
View Comments
The Comprehensive Guide to Locals in SvelteKit
In this blog post we’ll go over a lesser documented but powerful part of SvelteKit –...
 Skalamanga
AuthorI just purchased a waveshare 13.3 inch 1080p display with built in Cm4 for this. They also do a version with a mirror surface called the magic mirror.
 Stanislav Khromov
AuthorThis looks great, thank you for sharing! ☀️
 Gene Mosher
AuthorHow about using this computer https://chipsee.com/product/aio-cm4-156/ for your project?
 Tom Foth, W1TJF
AuthorThis is REALLY helpful and useful. Thank you SO MUCH for sharing!
 Anonymous
AuthorGreat, but my kitchen screen must have a constant clock showing. Wonder how that can be done. Maybe as an overlay or something. Someones thoughts on that?
 Anonymous
AuthorI can reply to myself. This work on a convertet Chromebook to Linux Mint (mrchromebox.tech)
Make sure Conky is installed.
Make a file in home catalog with name(remomber to display hidden files:
.conkyrc
Fill it with:
conky.config = {
— Various Conky settings
update_interval = 1,
— Setting the window to be above all other windows
own_window = true,
own_window_type = ‘owerlay’,
own_window_transparent = no, — ‘no’ is correct here, it’s equivalent to false in this context
own_window_argb_visual = true,
own_window_argb_value = 0, — fully transparent background
own_window_hints = ‘above,undecorated,sticky,skip_taskbar,skip_pager’,
— Remove any borders or gaps
border_inner_margin = 0,
border_outer_margin = 0,
minimum_height = 200,
minimum_width = 400,
— Graphics settings
double_buffer = true,
draw_shades = false,
draw_outline = false,
draw_borders = false,
draw_graph_borders = false,
— Text settings
use_xft = true,
xftalpha = 0.1, — Values less than 1 will make the text more transparent
— Other text settings
uppercase = false,
override_utf8_locale = true,
alignment = ‘top_right’,
— Gap between borders of screen and text
gap_x = 10,
gap_y = 10,
};
conky.text = [[
${font Sans:size=60}${color gray}${time %H:%M}
]];:
And run it with:
conky -c ~/.conkyr
This will display a clock over all other windows. The transparent don’t work on this version.
 Stanislav Khromov
AuthorThank you for sharing! 🌞